Hexbreaker
Hexbreaker: Expanding Character with Particles
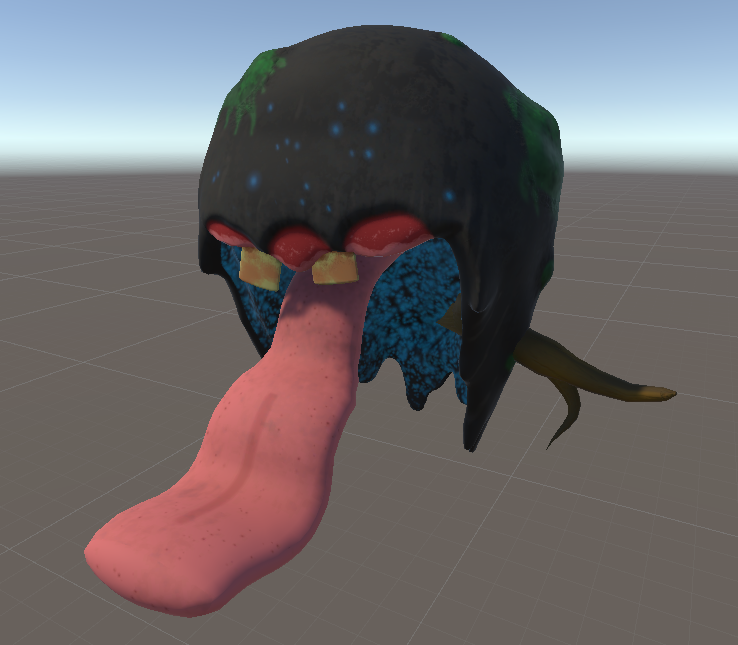
It's time for another dev post with Archie. Today I will be showcasing how I've expanded our enemy characters with the use of particle systems. These effects are made using both the Shader Graph and VFX Graph inside of the Unity engine. The enemy I will be using will be one of the first enemies the player might see in our game, The Marshwood Wanderer.
First I'm going to want to set up the shader that will make these particles look drop-like.
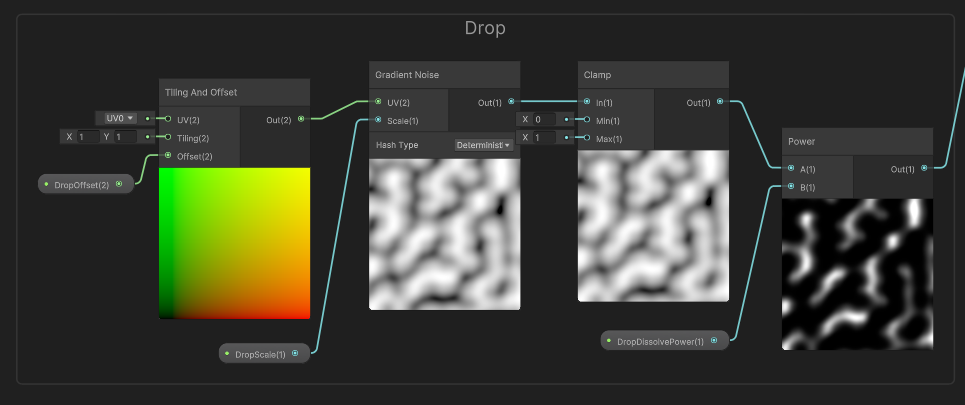
The basis for this shader is going to be the gradient noise, we are going to use this just so every drop appears to be just slightly different from the previous drop, the scale variable is going to large so we have a larger texture to use. Having a tiling and offset node to the left is additional prep work for if I wanted to uses a similar drop effect but possible move it to give different drop shapes or even add a time node to make moving drops, (Moving drops would be more useful if this was attached to a plane instead of using vfx graph to simulate physics.) The clamp node is right now used as a safety to ensure my values stay positive. The power node is going to be used to make the black sections of the noise stronger with a large variable used in the B channel. The white parts are what we are going to see with this drop shader, adding this power makes it so instead of seeing a cracked square we now would see a bunch of noodles when we apply this shader.

We are also going to want to create a mask for this shader so we don't get any hard edges from our noise. A quick circle mask was used by grabbing a polar coordinates node for the radial component and then using a one minus to invert our selection and create a circle shaped mask. If you have another mask shape you'd like to use feel free to substitute that over this system, just be sure to have it gradient to black around the edges to give our particle more soft edges. After making these 2 systems, you can multiply them together to combine our noise and mask. Multiply these again with a variable for color and that can be set for the base color of our visual effect shader. Feel free to add some variables to alter the alpha, if you want to alter the base color to be used in the alpha clipping the previous clamp should help to avoid getting a negative alpha value.
Now it's time to move on to making the vfx graph.

Let's first start with the particles set up. In the spawn system I have set up some logic to either switch this system between loops or bursting, this was an optional step to allow me to re-use this system if I'd like, helpful if I wanted to turn this effect into a on-hit reaction. In the initialize I have set up a random velocity using a vector 3 as upper bounds and then splitting it's inputs to alter and set as lower bounds. I have set a longer lifetime on these particles because I want to make sure these particles will have time to land on surface the model hovers above. I then use the set position (mesh) to have the particle system spawn in the shape of a mesh and follow it with a set position which will take the transform of an object to set the particle's location. Doing these 2 positions allow me to get the shape and location of a model while not having to manually move or try to set a position via code, I can also switched my (mesh) to a (skinned mesh) node when animations get brough over.
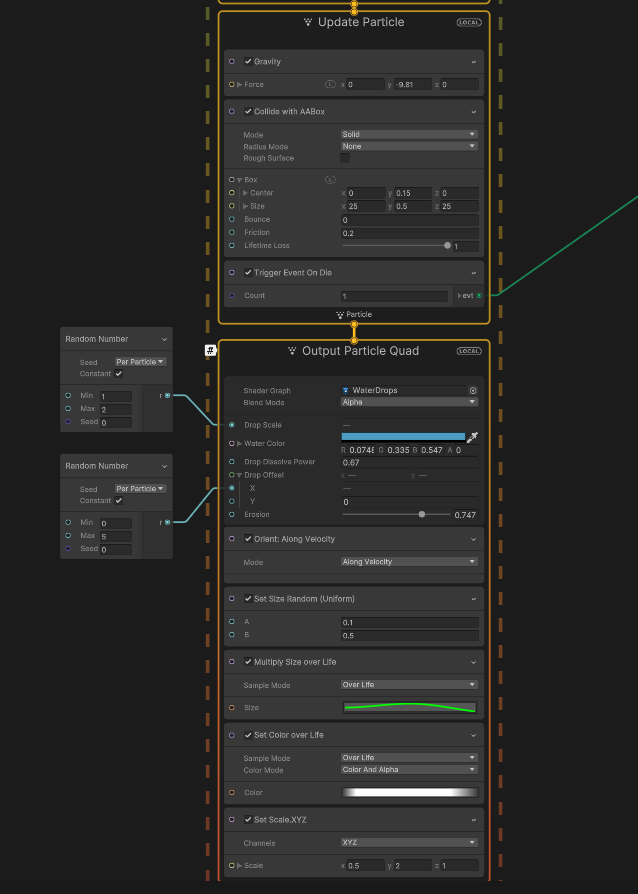
The update is going to be used to add some extra gravity to our system as well as set a collider box for our particles. This box is under the mesh and will function as ground for our particles. Finally, we have a trigger on death where we can set up a splash reaction after our particle hits ground and disappears. With the current length, that set up may be discussed at a later post, getting this dripping system is still pretty cool. Our output particle will actually take our shader's parameters and display them for more fine tuning. I have set the scale to now be randomized and I also create a random offset which will now impact the tiling and offset node from our shader, giving us more variation. I then use some size and scale nodes to further control the size of the particles. For my drip, I wanted the particle to start a little small, grow while it falls, and if I switch this to a on hit, I'd like the particles to shrink after a while. After combining all these systems and assigning the variables I get the end result of water drops for this enemy.
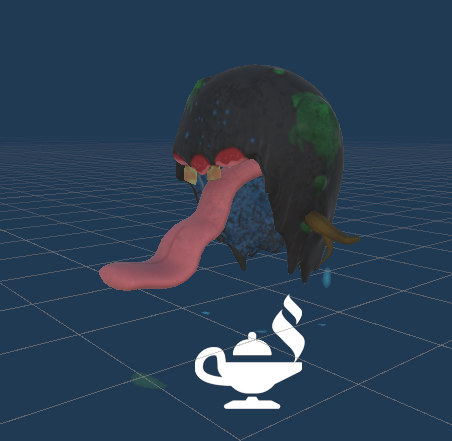
While the image might not be doing my slow drip much justice, I do have a looping effect that now adds more variation to my enemy. I hope you found this interesting and maybe decide to spice up your models with a bit of particle pizzazz!
See ya next time!
-Archie
Leave a comment
Log in with itch.io to leave a comment.